Create a Functional Location
Objective: Gain an understanding of how to Create a Functional Location from an Asset.
To create a Functional Location manually, navigate to an Asset that will belong to the new Functional Location (FL), or an existing Functional Location that will be either a Parent or Child of the new Functional Location, then expand the 'Actions' menu and select 'Create Functional Location'.

The following dialog pop up box will display:
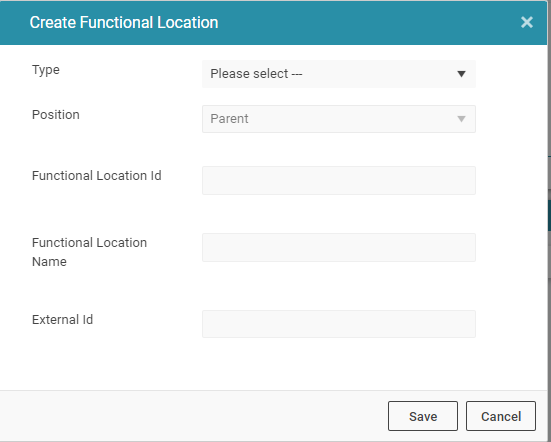
The following fields are required to be populated:
-
Type: Used for classification of the FL (the Type options are configured by a System Administrator)
-
Position: A dropdown to select the newly created FL's position in the Asset Hierarchy, either Parent of Child. An Asset can never be a Parent to a FL, so when creating an FL from an Asset page, only Parent will be available. A FL can only have one Parent, so if the FL already has a Parent, only Child will be available. The maximum number of Functional Location levels is 7, which may also restrict the Parent or Child option if an FL hierarchy is already 7 levels deep.
-
Functional Location ID: A unique ID used to identify the Functional Location.
-
Functional Location Name: A text field for the name of the Function Location.
-
External Id: This is an optional field which is used to store the external system Ids.
Click the "Save" button.
The FL will now be visible in the Asset Hierarchy Tree.
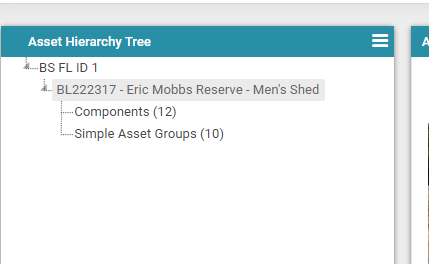
The above process can be repeated to create additional Functional Locations.
Click on the Functional Location within the Asset Hierarchy Tree to display its Dashboard.
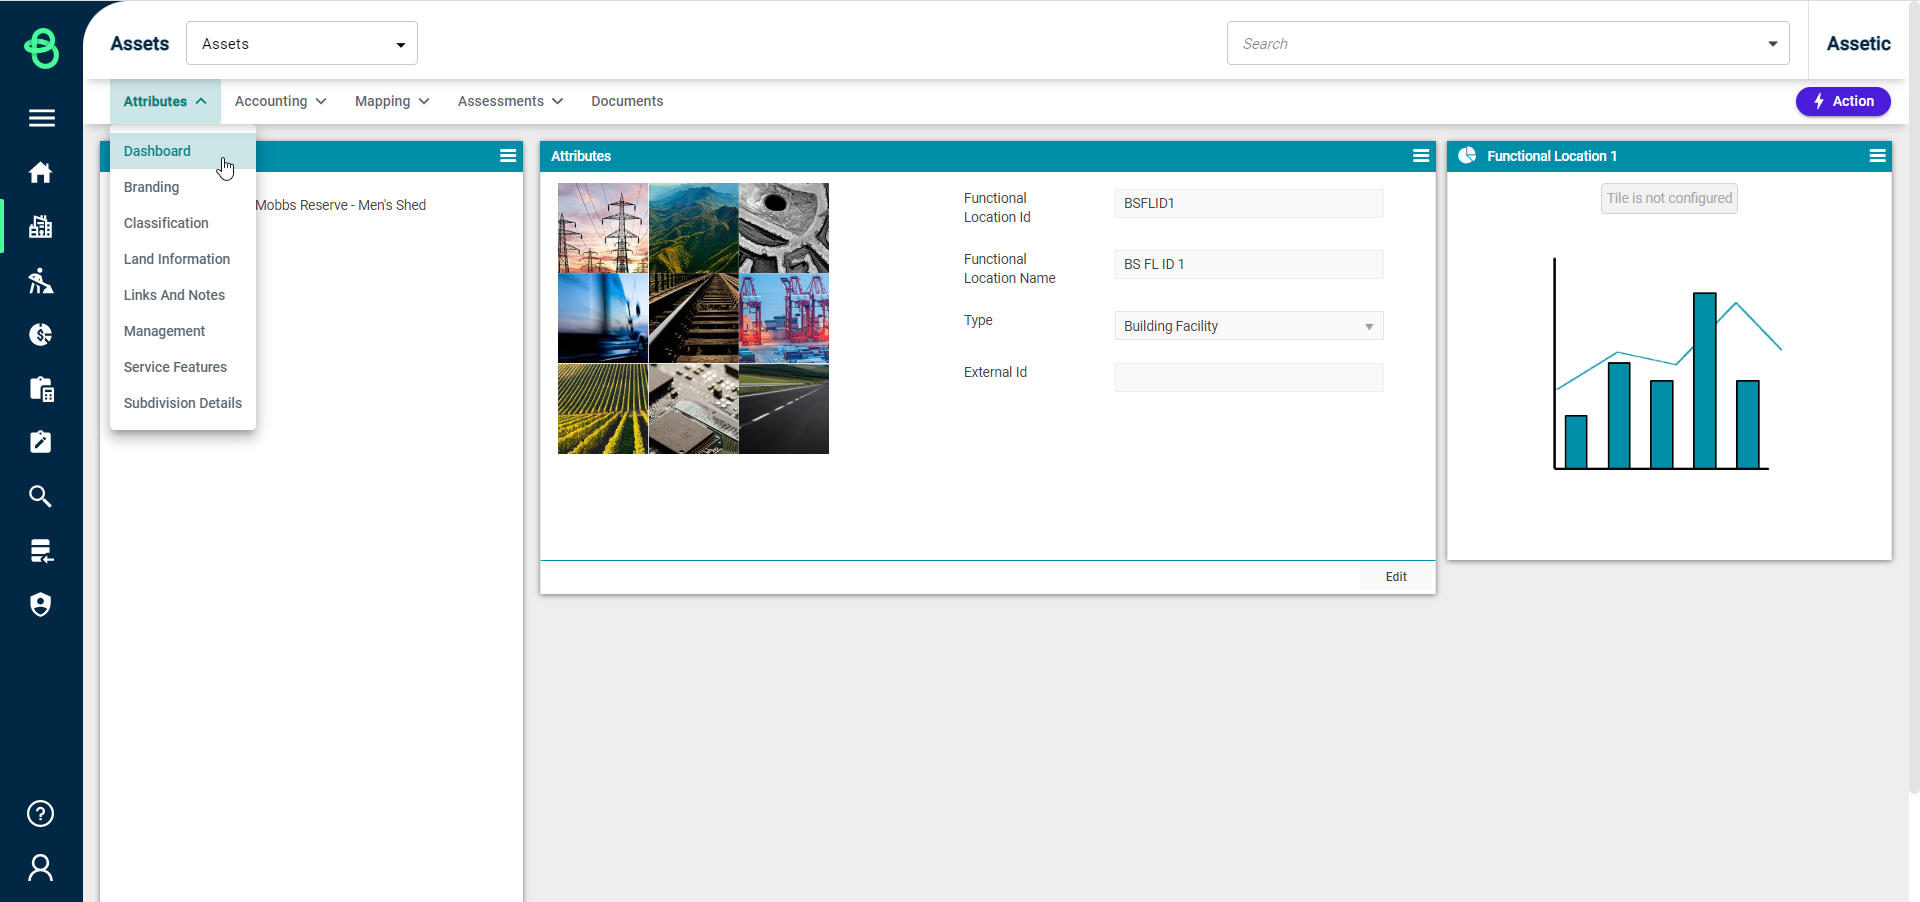
Each Functional Location has its own respective fields, which operate in an equivalent manner to the fields of an Asset, and can be accessed using the Dashboard dropdown menus.
Create a Functional Location using Data Exchange
When there is the requirement to create a large number of Functional Locations, rather than manually adding entries one by one it is more efficient to utilise the Data Exchange. This has the advantage of allowing users to upload Functional Location data in bulk.
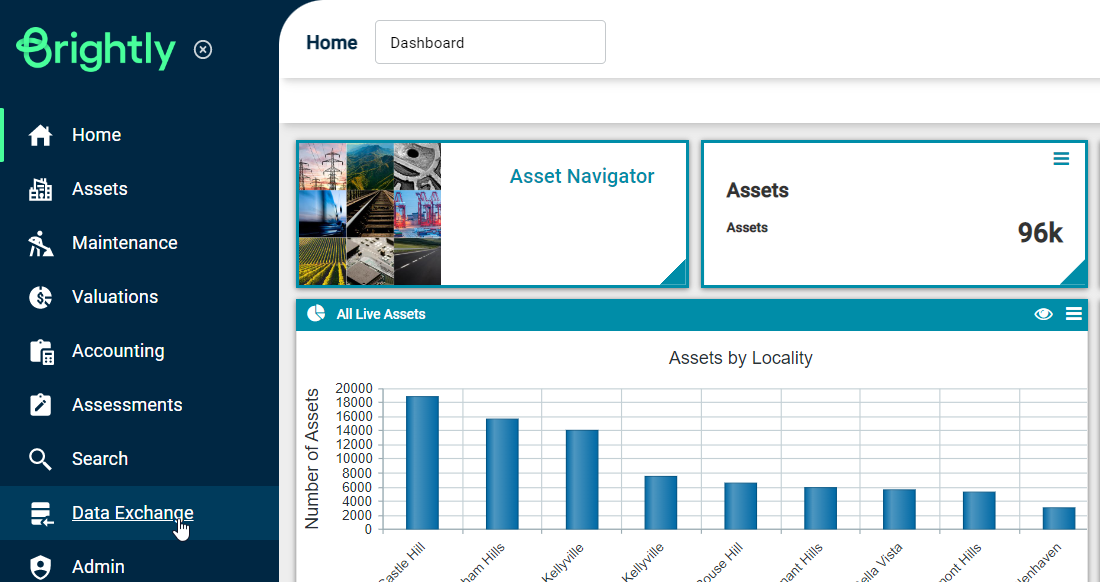
To do this, navigate to Data Exchange module in the sidebar navigation.
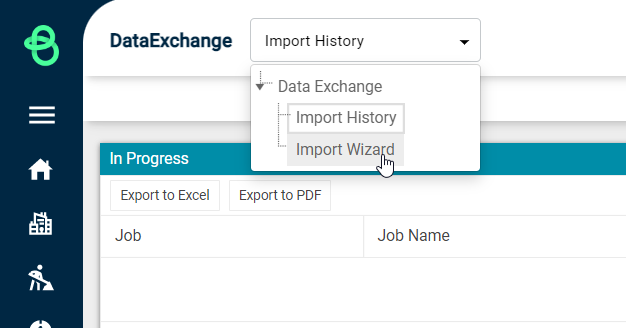
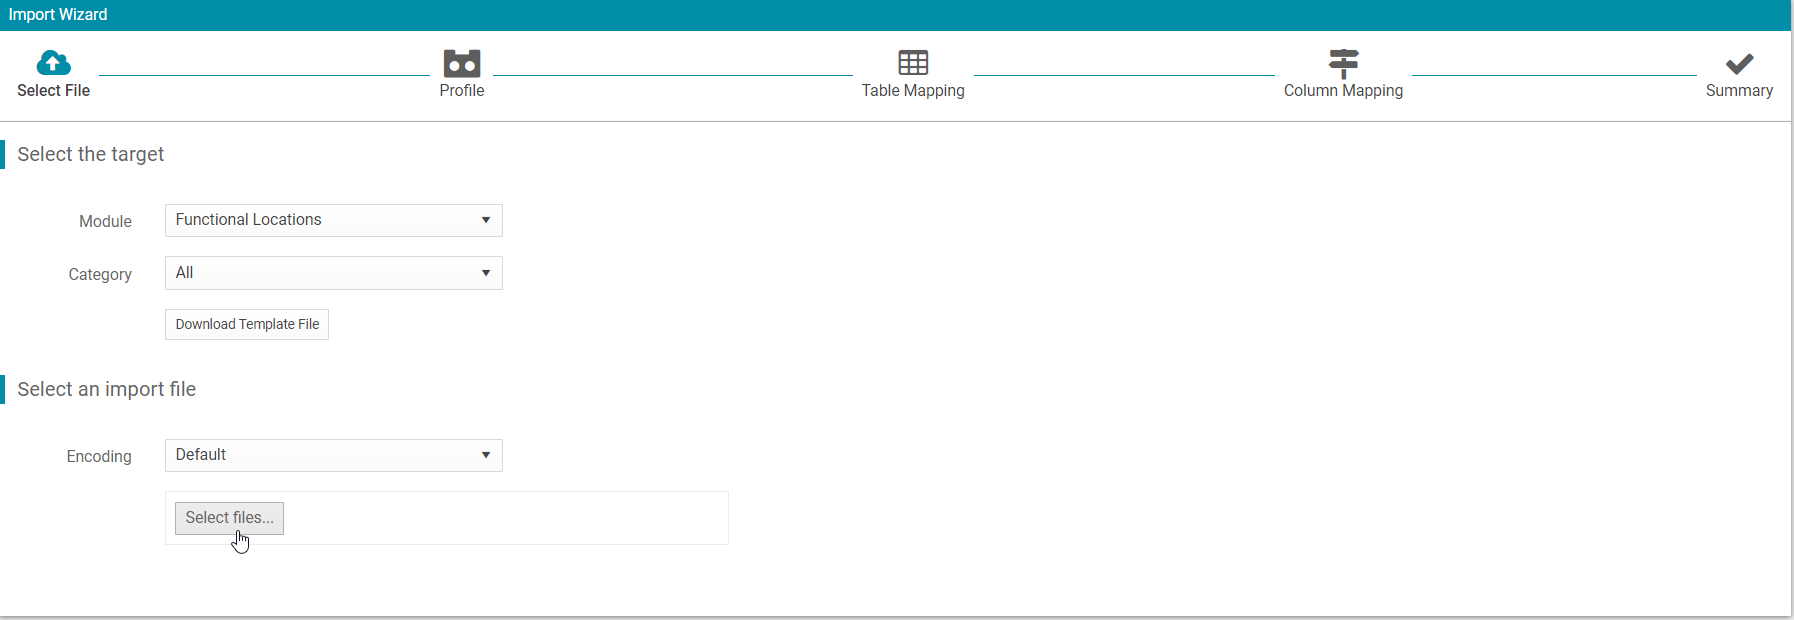
From the secondary navigation menu, select 'Import Wizard'.
Select 'Functional Locations' from the Module dropdown menu.
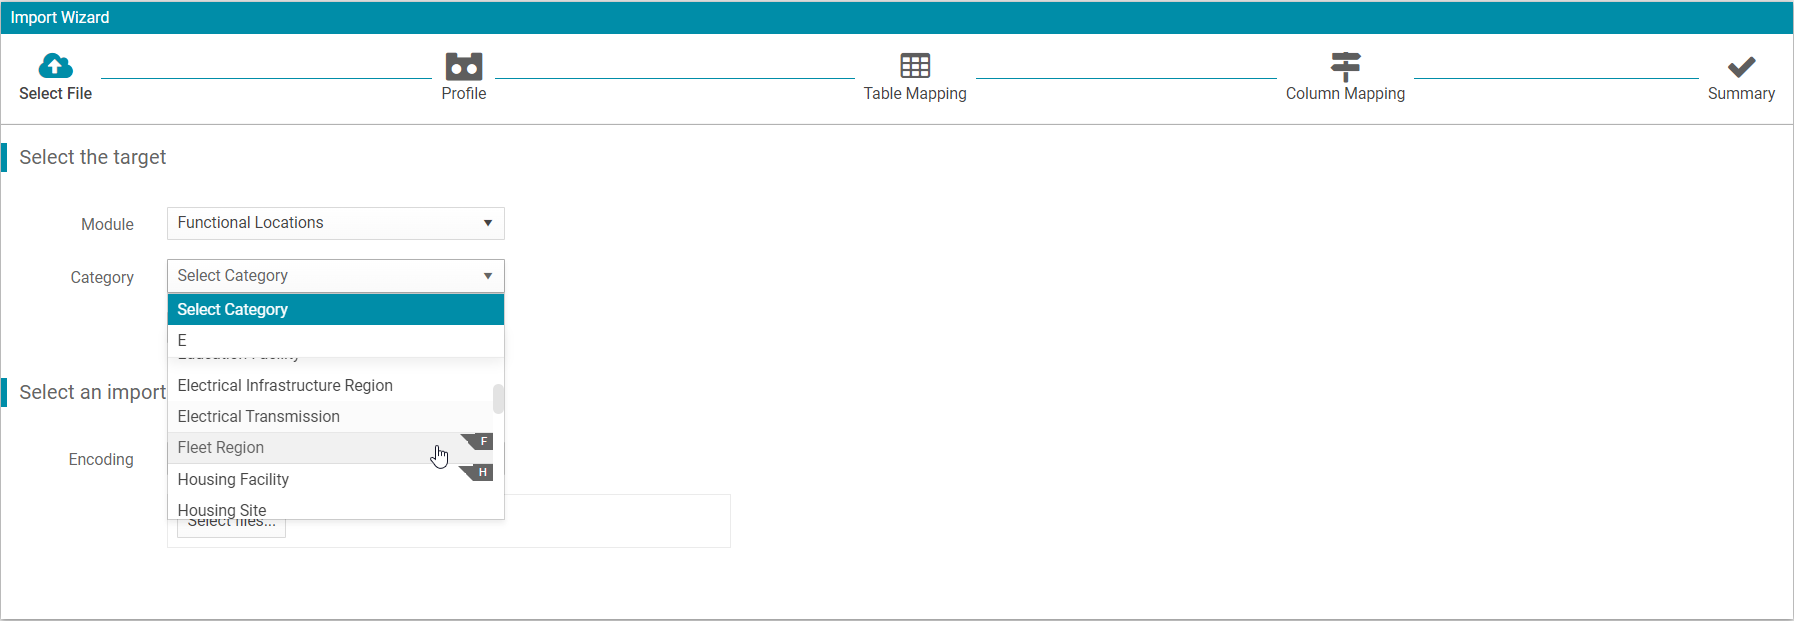
Functional Locations can be created with either a bare-bones framework or fully configured by choosing from the defined Functional Location Types, which have attributes in-line with a specific Asset Category. Selecting a specific Functional Location Type in the Category dropdown will allow users to download a Template File that includes all available attribute fields for that type, which can be populated through the import.
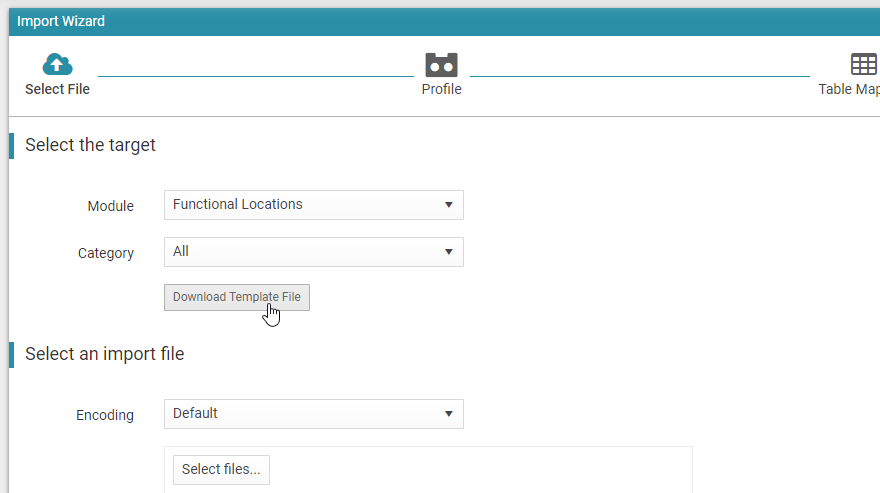
In this scenario, a basic Functional Location is being created by selecting 'All' from the Category dropdown, and then clicking on 'Download Template File' to download the template.
Template - Functional Locations All
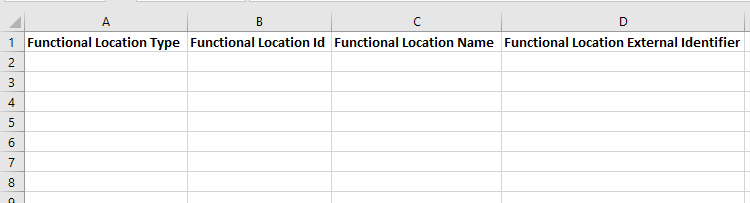
-
Functional Location Type: The Functional Location Type must exactly match a configured Functional Location Type in the Asset Advanced Configuration, within the Admin module.
-
Functional Location Id: Unique Identifier for the Functional Location. If the Functional Location Type is utilising Auto Generated ID's, this field must be left blank.
-
Functional Location Name: The name of the Functional Location being added.
-
Functional Location External Identifier: This is an optional field which is used to store the external system Ids.
Once the template is fully populated, save the template and return to Data Exchange.
Click on the 'Select files' button and select the saved template file.
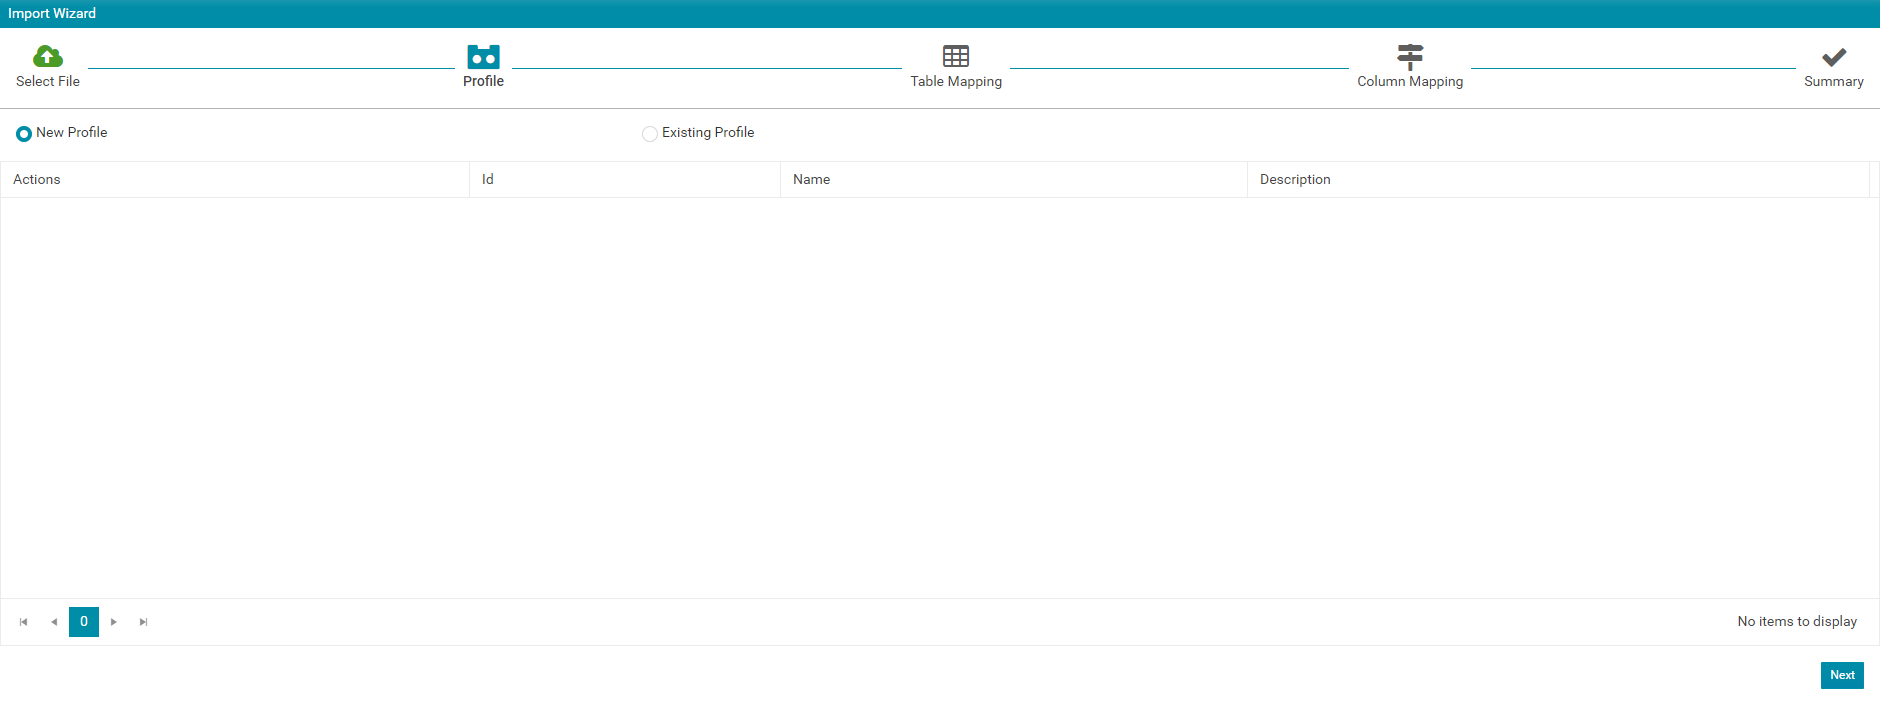
Click 'New Profile' and then 'Next'.
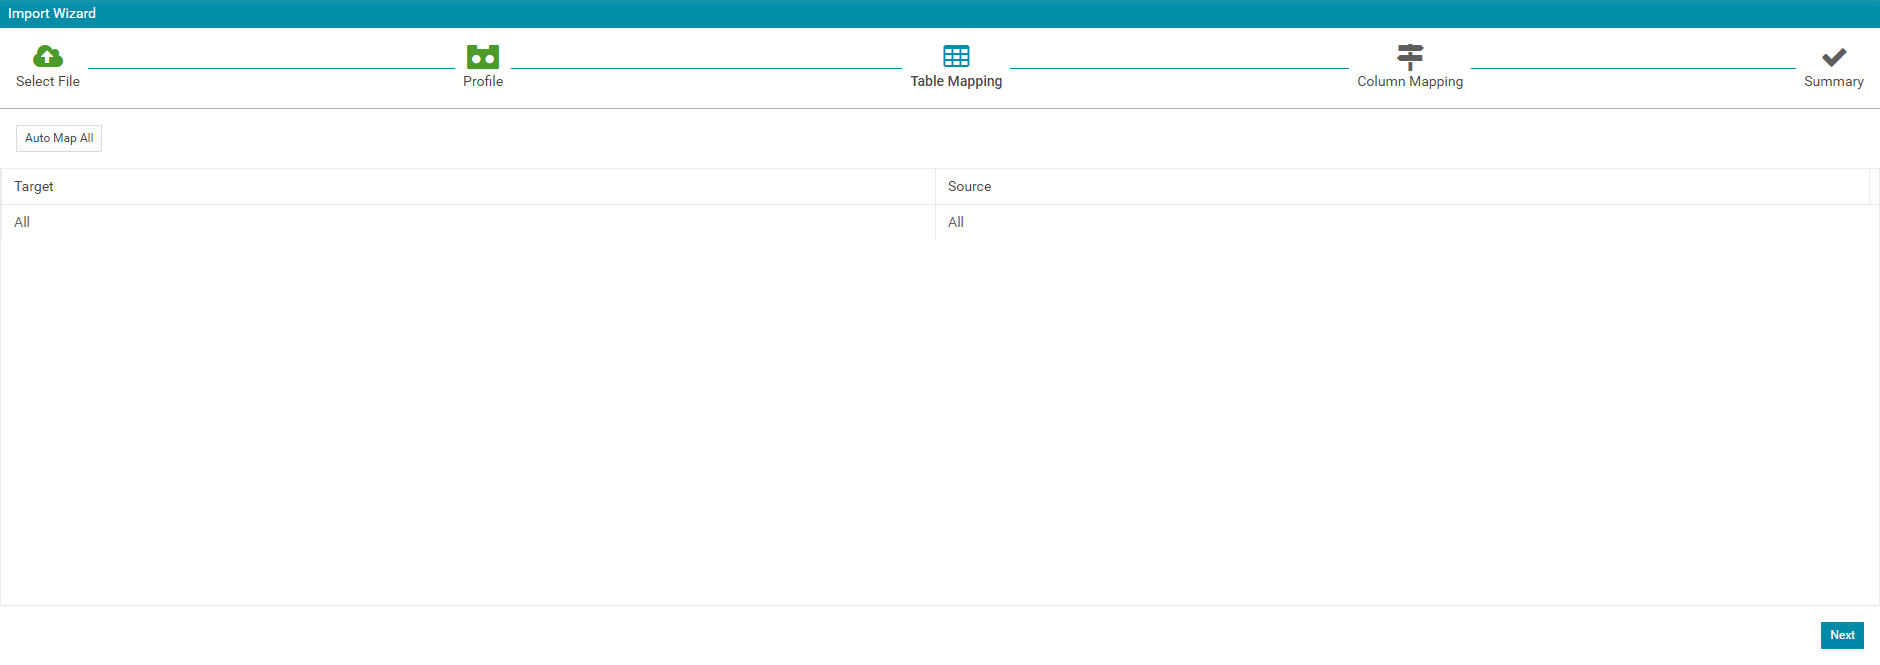
Check that the table is correctly mapped and select 'Next'.
Check that the columns are correctly mapped and select 'Import'.

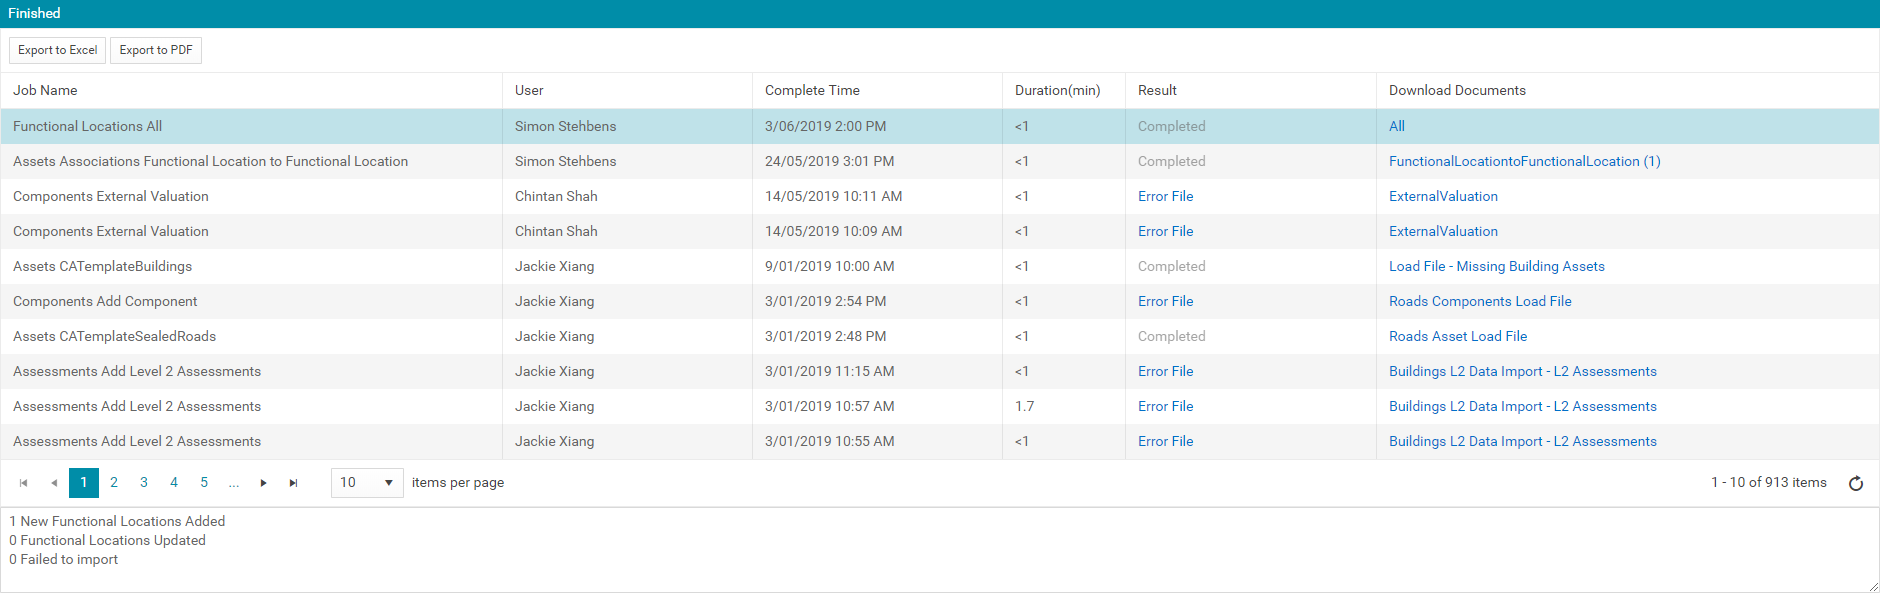
Once the assessment data is imported, select 'View Status' to see if the import has completed without errors.

If there are any errors, click the 'Error File' link to download the initial template upload, with an added column at the end which outlines the error.
Otherwise, if the Result column states 'Completed', all Functional Location data has been successfully uploaded and the new Functional Locations are available to be linked. Further information on linking Functional Locations can be found here.